Belka Manual
Belka Admin Manual
Belka Admin Manual
This guide walks through the main workflows in the Belka admin dashboard.
Getting Started
If you or your organization would like to start using Belka, you need to contact Free Russians and request a new organization account. Please describe your case:
- Why would you like to try Belka out?
- What are you planning to use it for?
- How many voter participants you plan or expect to enroll?
- How many elections per month you plan to host?
- your organization administrator email address (will be used as user identifier for logging into the system).
In case of a positive decision you will receive an email message inviting your organization administrator to complete their account setup. Once they have done it, they will be able to sign into the administration dashboard.
Sign In To The Dashboard
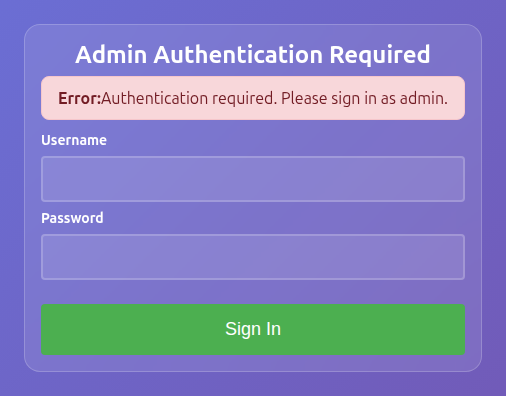
Open the Belka admin dashboard and enter your organization-admin credentials.
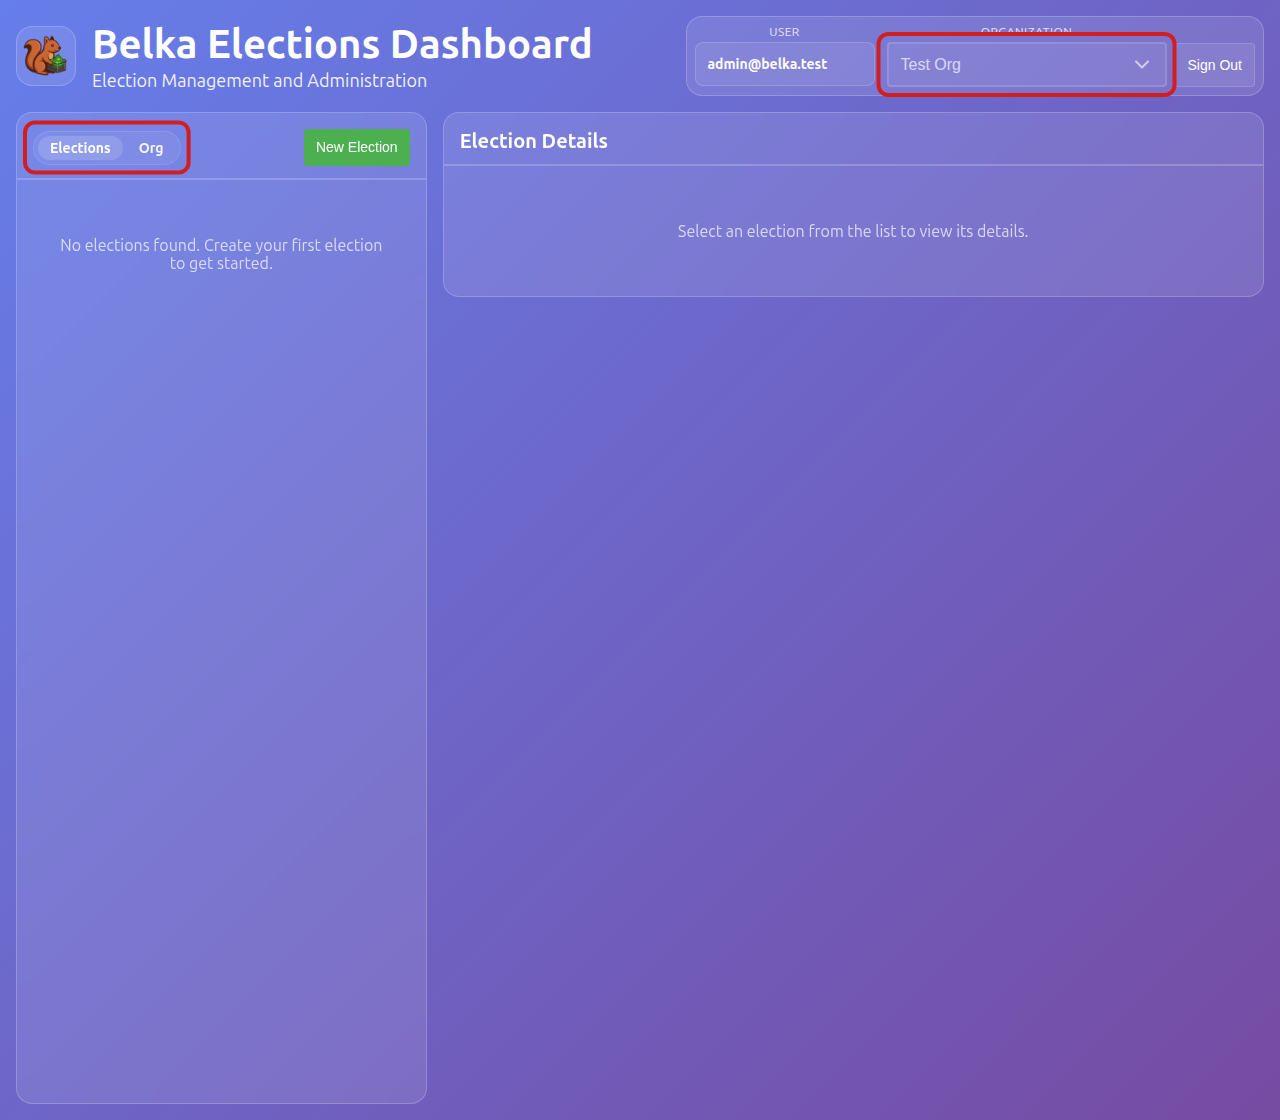
After sign-in, Belka opens the main dashboard with the Elections workspace selected and your current user and organization visible in the header. If your user belongs to multiple organizations, you can switch between using the drop-down selector at the top.
Left side panel has a switch between your org elections and members.
Manage Organization Members
Open the Org tab to manage members in the selected organization. Membership grants access to
elections that your organization holds privately. Elevated member roles allow them to create
org-wide elections or manage other members.
Your existing org members will be listed on the left.
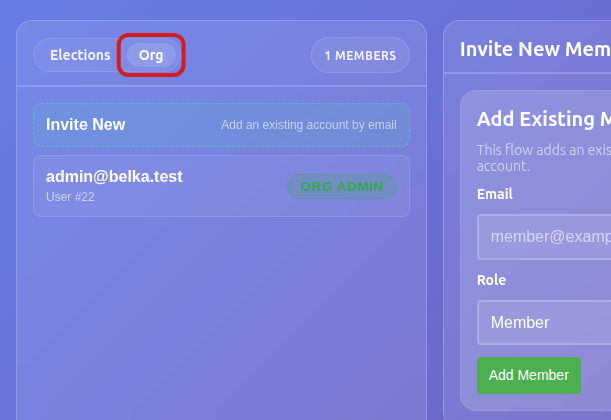
Press the “Invite New” button to initiate adding a new org member.
Specify the Belka user to add to your org by filling in their registration email address and choose the desired role in your organization:
- Member - can see org’s elections and participate
- Election Admin - can create and run elections in your organization
- Org Admin - can add and remove organization members
Note: each next role inclludes permissions of the previous one: i.e. org admins can also manage elections, as well as participate in them as voters.
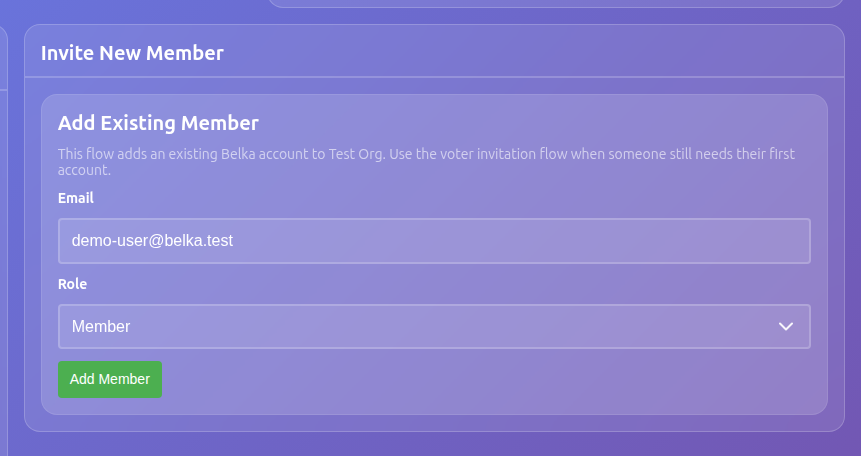
Press “Add Member” to complete the task.
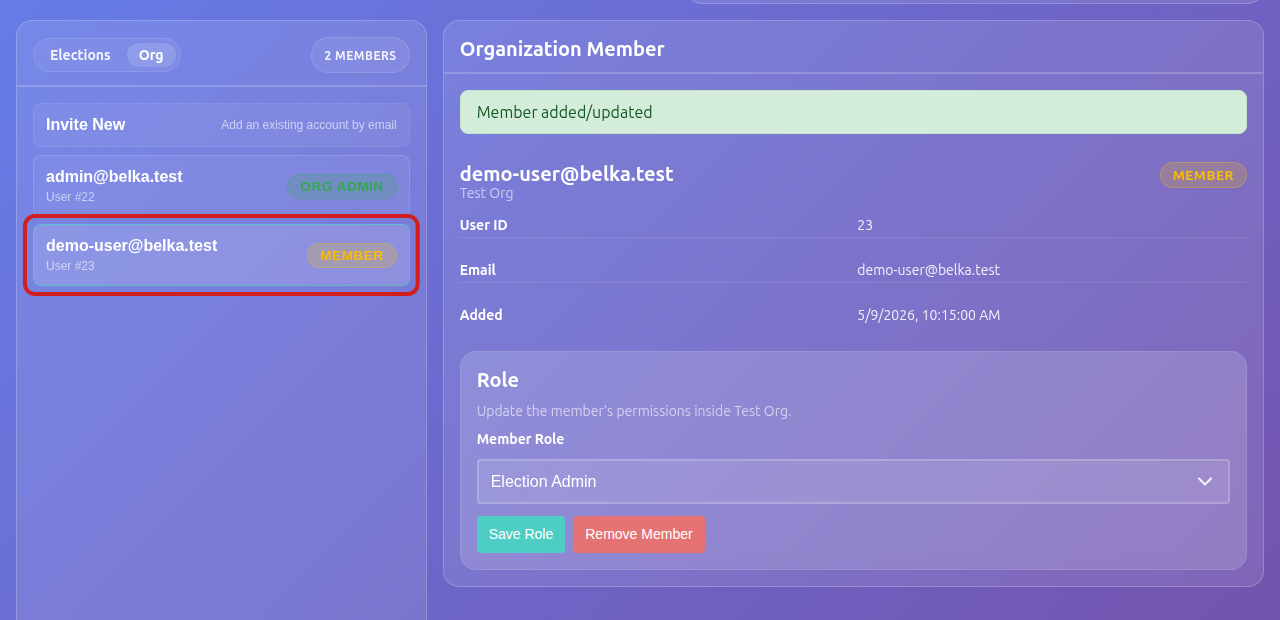
You can later select any member in the sidebar to review their current role and update it when their responsibilities change, or remove the user from organization.
Create And Publish An Election
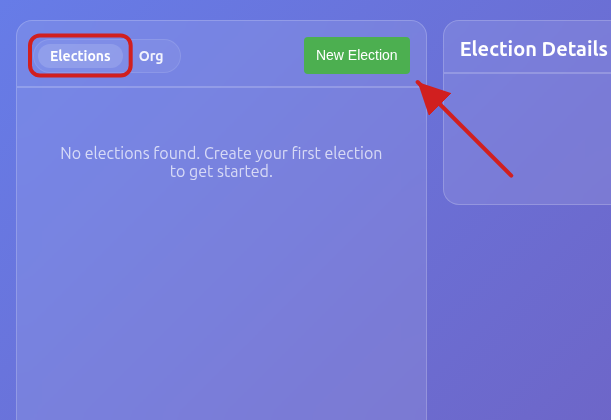
From the Elections tab, choose New Election:
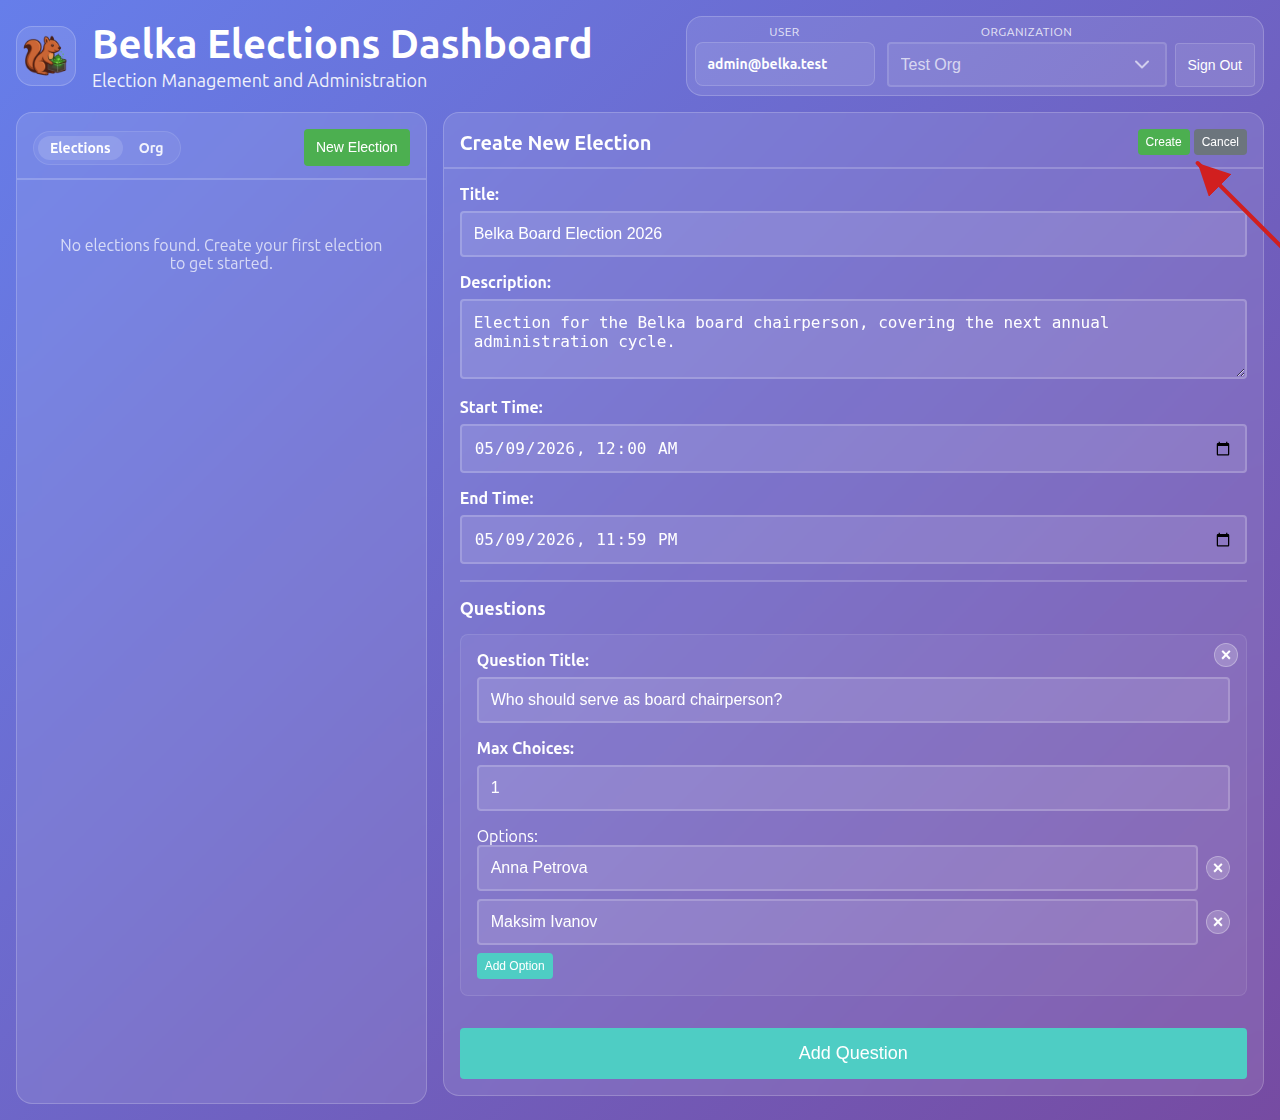
On the right side you will see the new election’s properties. Fill in the title, description, dates, and ballot questions.
Title shall appear in the voter app elections list.
The description shall be shown in the details view once the election is selected by the user.
Start and end time are currently mostly advisory and are only there so votern could know the time window to show up to the election. Note that in future versions these will likely put real voting time constraints enforsed by the voting server.
Questions is the most important section - this is where you specify the content for the purpose of your poll or election.
A question may have 2 or more answering options. When allowed, a voter may chose several options - up to the specified number.
Once you’re done setting it up, press the “Create” button to save it. You still will be able to edit it later - up to the point when you publish it to the potential participants.
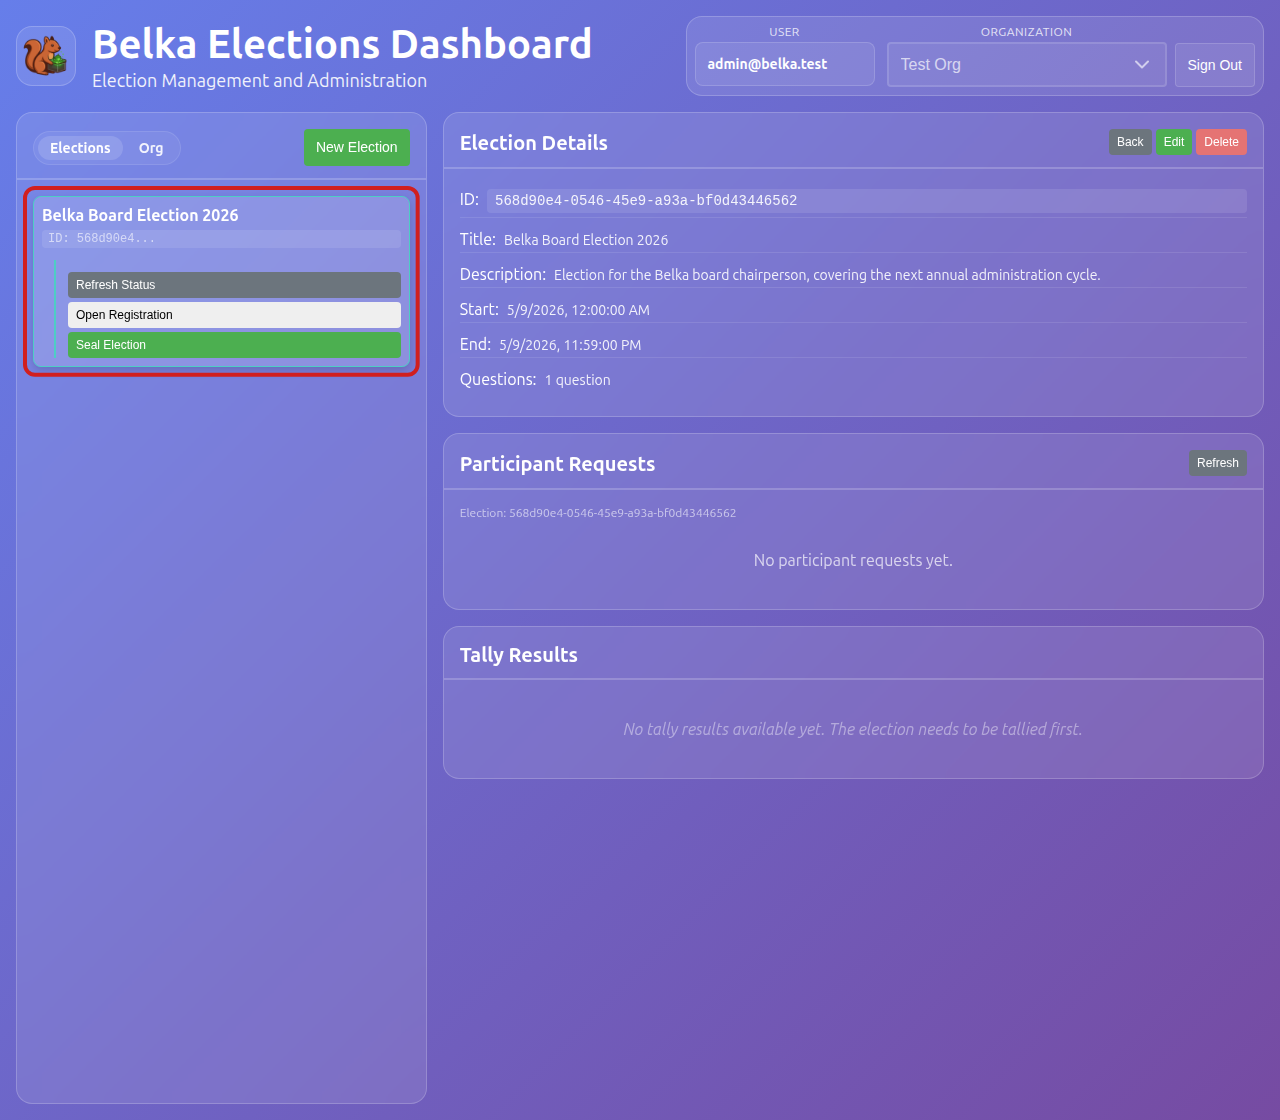
After the election is saved, selecting in in the left-side panel will expand the list item and show its lifetime controls:
- Refresh Status - pulls the latest status from the voting server (typically only needed during an ongoing poll or election to obtain the most up to date information about the number of votes)
- Open Registration / Close Registration - controls whether voters are allowed to send their participation requests.
- Seal Election - progress election status disabling any subsequent changes to its setup and new voter applications, and preparing it for active voting.
To publish the election for voter applications, use Open Registration.
Review And Approve Voter Requests
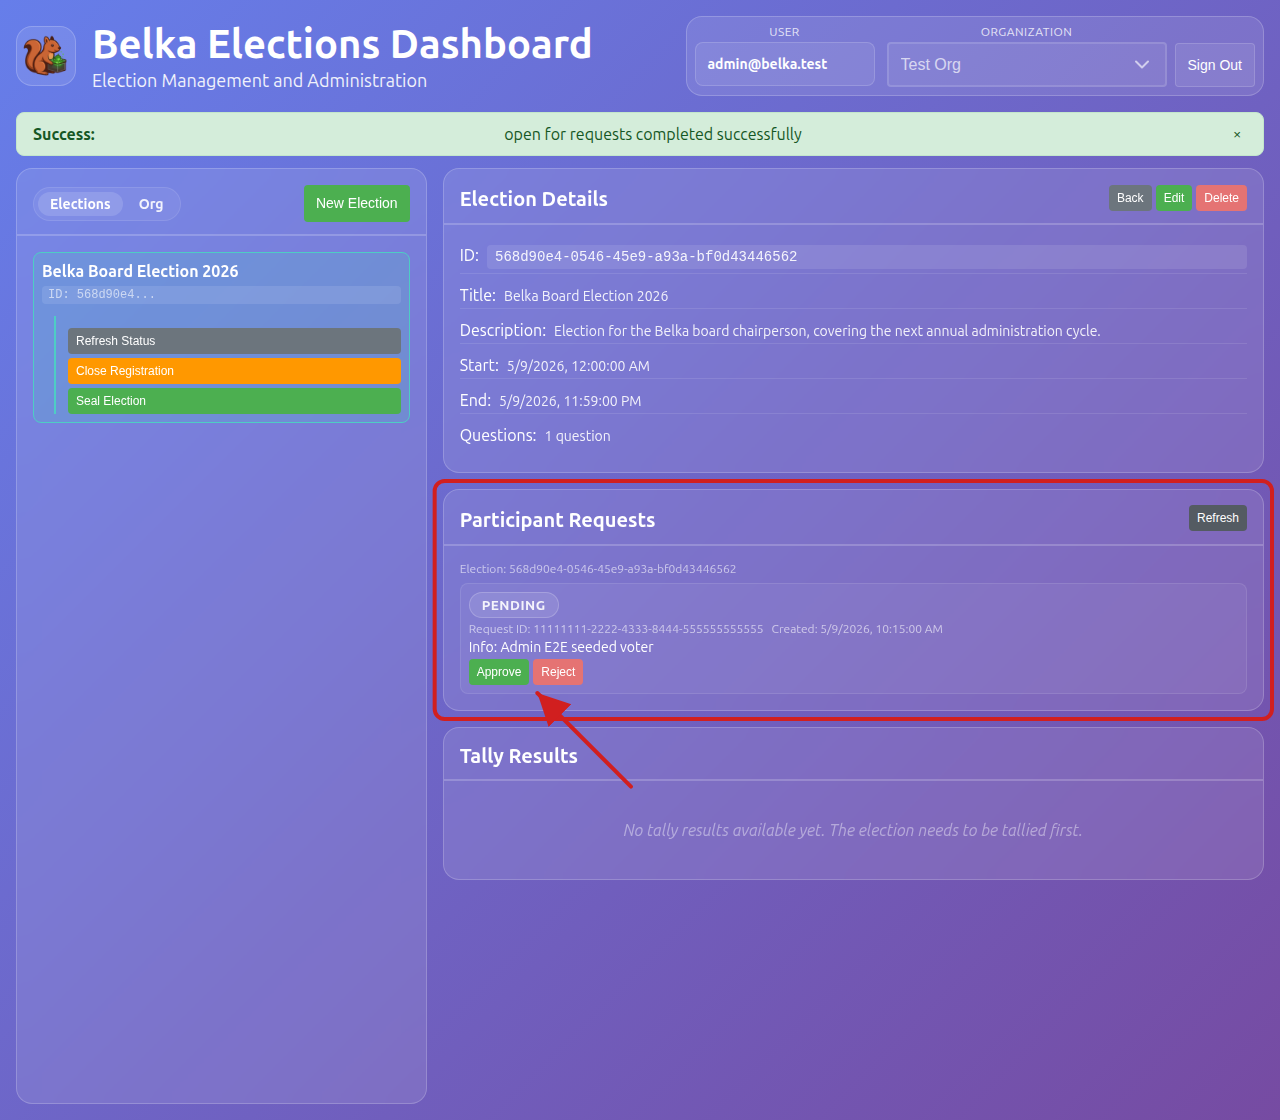
Voter applications for participation will appear in the Participant Requests section of your
election where you can review them. Grant or deny the participation using the Approve and Reject
buttons. Only voters granted access will be able to submit their votes to the election.
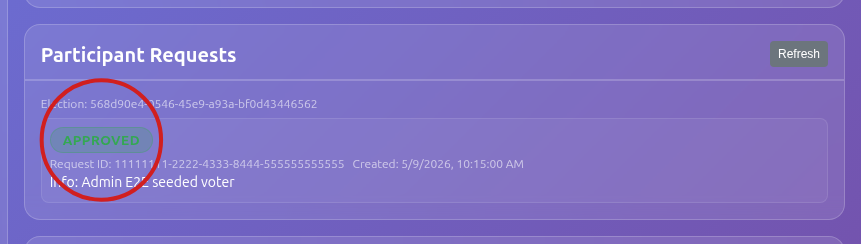
Participation request status is displayed on the badge:
Run The Election
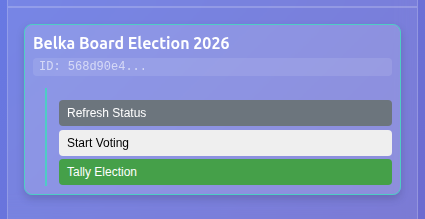
When you decide that the registration phase is complete, Close Registration, Seal Election, and
Start Voting. This will allow the voters to fill out and submit their electronic ballots.
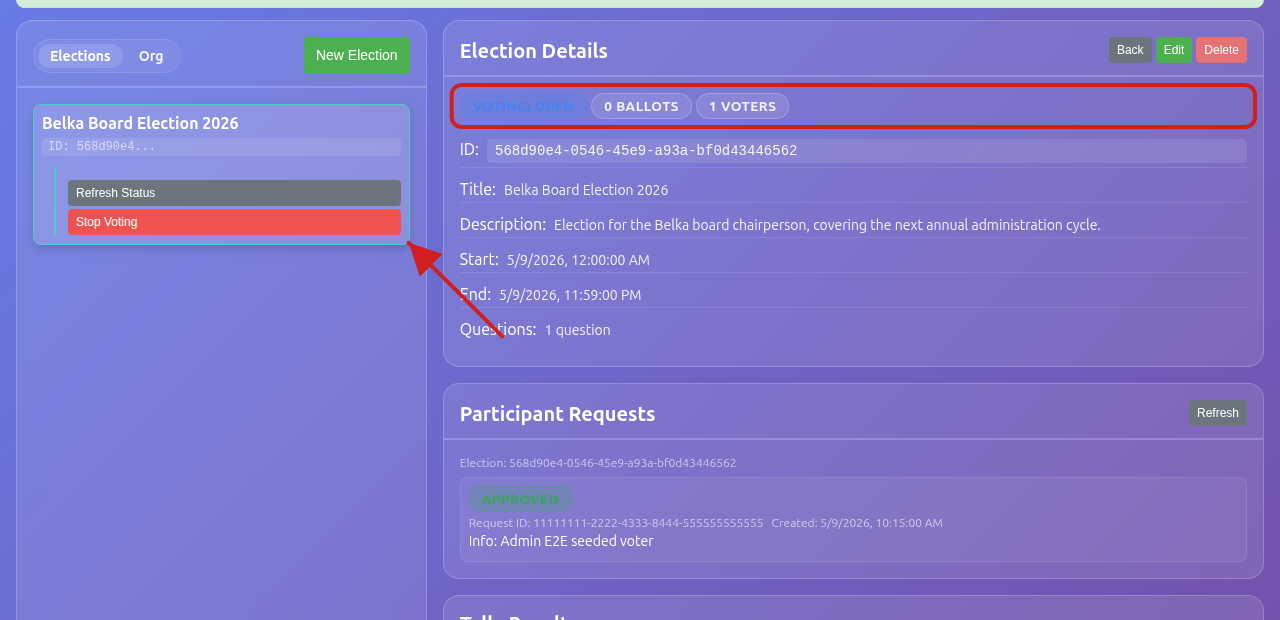
You can stop and resume voting any time using the buttons in the left-side panel.
Once the voting has started, you can monitor its progress in the details panel which shows the current status, and the count of submitted ballots.
Tally And Review Results
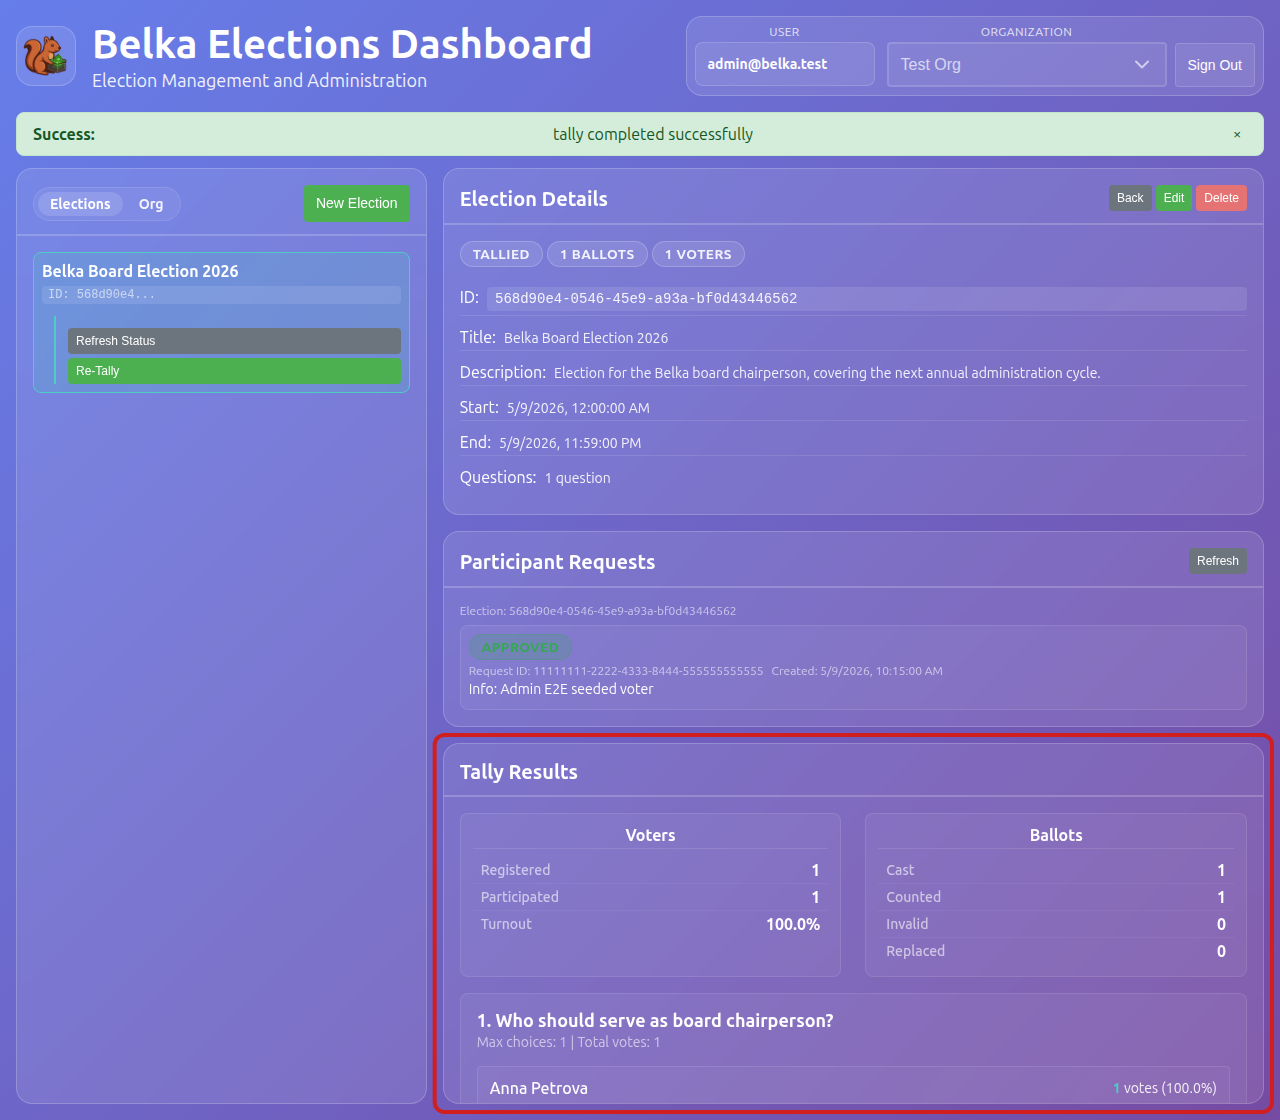
Use Tally Election to calculate the final results and then review the turnout
and per-option counts in the tally panel.
NOTE: Once tallied, the election will no longer accept any more ballots!